本文实例讲述了php基于gd库的图像处理方法。分享给大家供大家参考,具体如下:
gd图像处理技术
extension=php_gd2.dll
创建画布
画布,一种资源型数据,可操作的图像资源
创建画布(新建)
imagecreate(width,height) //创建基于调色板的画布
imagecreatetruecolor(width,height) //创建真彩色的画布
基于图片创建画布(打开)
imagecreatefromjpeg( url)
imagecreatefrompng(url)
imagecreatefromgif(url)
操作画布
分配颜色:如果需要在画布上使用某种颜色,应该先将颜色分配到画布上。
(颜色标识 )= imagecolorallocate(img,r,g,b)
填充画布
imagefill(img,x,y,颜色标识)
输出画布
1. 输出到图片文件
2. 直接输出,需要告知浏览器输出为图片信息(header("content-type:image/png;"))
|
1
2
3
|
imagepng(img[,url])imagejpeg()imagegif() |
销毁画布资源
imagedestroy(img)
|
1
2
3
4
5
6
7
8
|
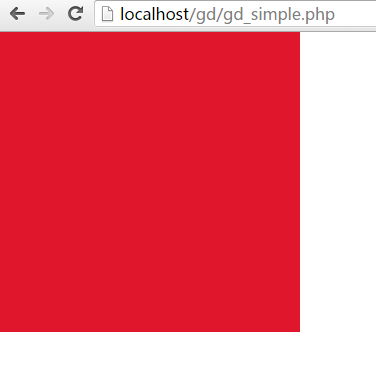
<?phpheader('content-type:image/png');$img = imagecreate(300,300);$color = imagecolorallocate($img,223,22,44);imagefill($img,3,3,$color);imagepng($img);imagedestroy();?> |
运行效果图如下:

验证码实现
|
1
2
3
4
5
6
7
8
9
10
11
12
13
14
15
16
17
18
19
20
21
22
23
24
25
|
<?php header('content-type:image/png'); $code = '123456789abcdefghijklmnpqrstuvwxvz'; $length = strlen($code); $print = ''; for($i=0; $i<4; $i++){ $print.=$code[mt_rand(0,$length-1)]; }// echo $print; $img = imagecreatefrompng('./str.png'); $color = mt_rand(0,1)==1?imagecolorallocate($img,0,0,0):imagecolorallocate($img,255,255,255); //图片大小 $img_width = imagesx($img); $img_height = imagesy($img); //字体大小 $font = 5; $font_width = imagefontwidth($font); $font_height = imagefontheight($font); $fin_w = ($img_width-$font_width*4)/2; $fin_h = ($img_height-$font_height)/2; imagestring($img,$font,$fin_w,$fin_h,$print,$color); imagepng($img); imagedestroy($img);?><image src="gd_string.php" onclick="this.src='gd_string.php?ra='+math.random()"></image> |
运行效果图如下:

|
1
2
3
4
5
6
7
8
9
10
11
12
13
14
15
16
17
18
19
|
<?phpsession_start();$im=imagecreatetruecolor(80,30);$str="";for ($i=0;$i<4;$i++){ $str.=dechex(rand(0,15));}$_session['code']=$str;$white=imagecolorallocate($im,255,255,255);imagestring($im,rand(2,5),rand(0,70),rand(0,10),$str,$white);//imagettftext($im,rand(0,5),rand(0,180),rand(0,100),rand(0,10),$white,"simhei.ttf",$str);for($i=0;$i<20;$i++){$color=imagecolorallocate($im,rand(0,255),rand(0,255),rand(0,255));imageline($im,rand(0,90),rand(0,20),rand(0,100),rand(0,100),$color);}header("content-type:image/png");imagepng($im);imagedestroy($im);?> |
注意:图片输出前后不能有额外输出
希望本文所述对大家php程序设计有所帮助。


